


How to check out items?
To begin the checkout process you must enter the patron barcode or part of their name. The checkout option appears in three main places:
-
Check out option on the top of the main staff client

-
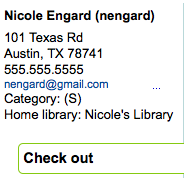
Check out option on the patron record
-
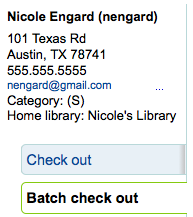
If you have enabled batch checkouts then click the batch check out option on the patron record
-
Check out option on the quick search bar on the circulation page

To check an item out to a patron, first search for that patron using one of the many options listed above. You will then be presented with the checkout screen.
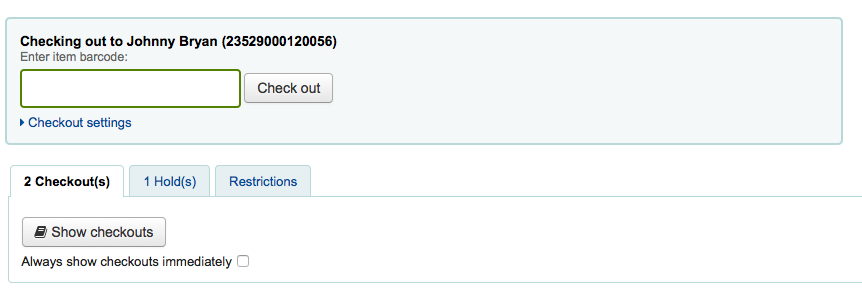
If you have chosen to 'Always show checkouts immediately' then you will see the list of checkouts below the check out box.
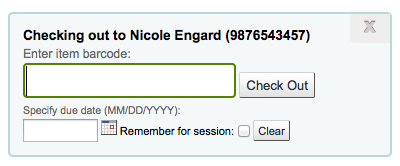
At the top of the Check Out screen is a box for you to type or scan the item's barcode into.
-
If the barcode is not found you will be prompted to use fast cataloging to add the item. Learn more about fast cataloging later in this manual.
-
If you have itemBarcodeFallbackSearch set to 'Enable' then you can enter a keyword search in this box instead of just a barcode (this will make it possible to check out using title and/or call number).
To see more checkout options click the 'Checkout settings' link to expand the checkout area.
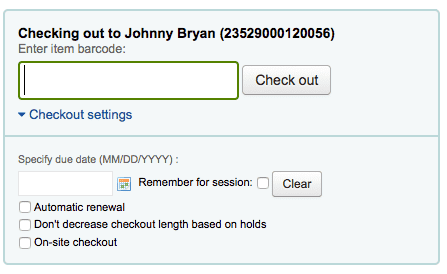
Below the box for the barcode there may be options for you to override the default due date for the item.
-
This option will only appear if you have set the SpecifyDueDate system preference to allow staff to override the due date
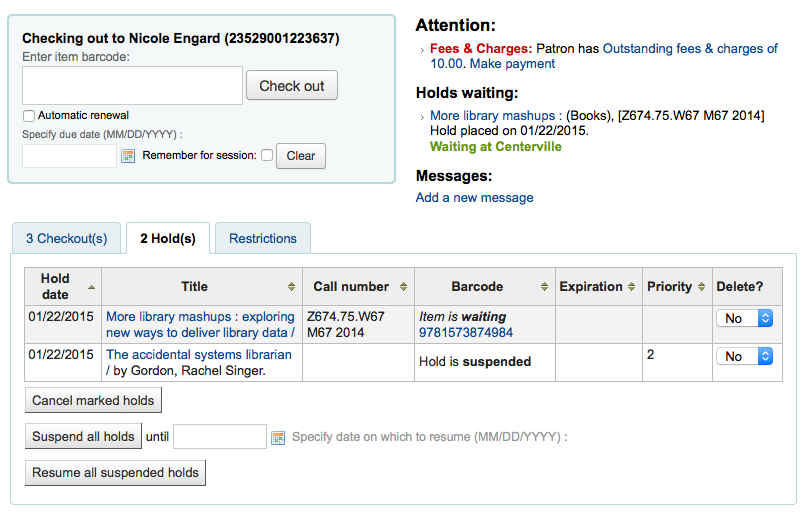
Below the box for the barcode you will see a checkbox for 'Automatic renewal'. This will allow this item to automatically renew if the appropriate cron job is running and there are no holds on the item.
Next is an option to no decrease the loan length based on holds. This overrides the decreaseLoanHighHolds preference.
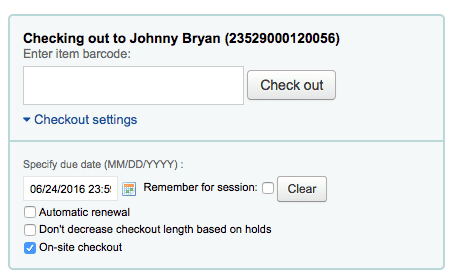
If you're allowing the checkout of items on site to patrons (these are usually items that are not for loan that you would like to check for in library use) then you will see the 'On-site checkout' checkbox after clicking the 'Checkout settings' link to expand your circulation options.
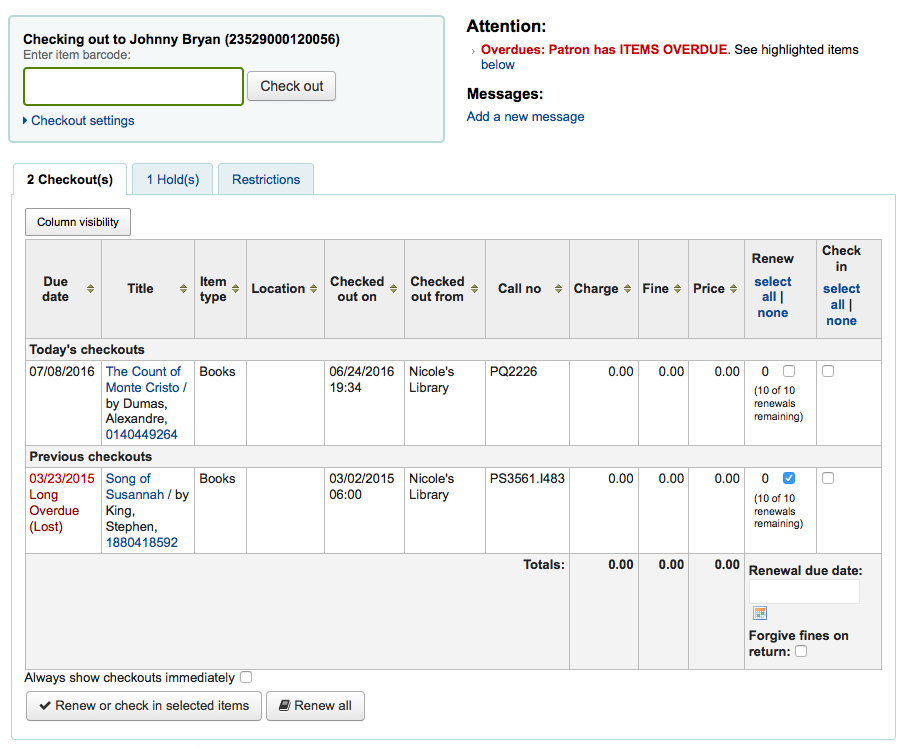
At the bottom of the page there is a summary of the patron's current checked out items along with the due date (and time if the item is an hourly loan), items checked out today will appear at the top.
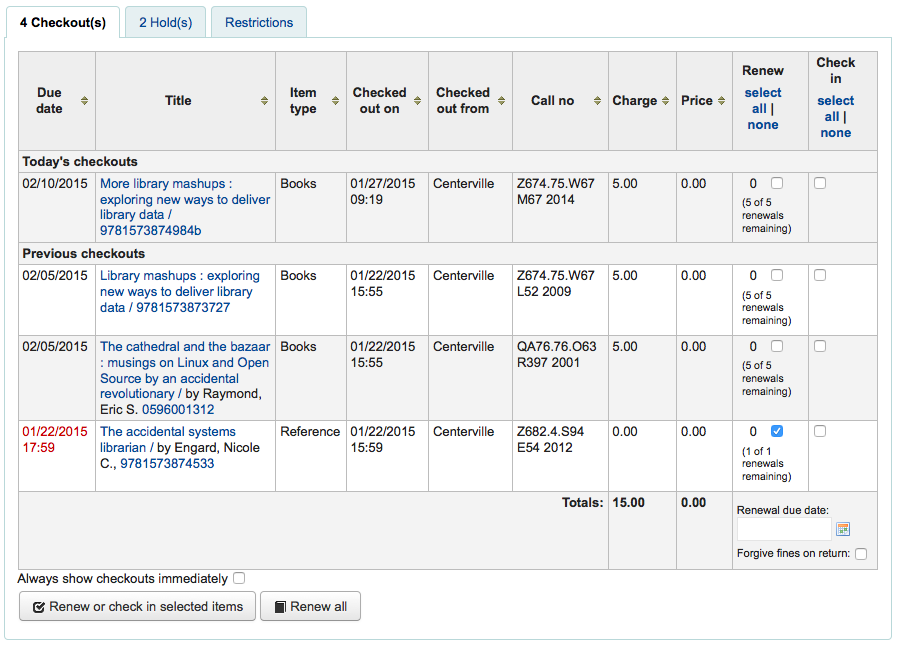
If you checked out an item for on site use you will see that highlighted in red in the checkout summary.

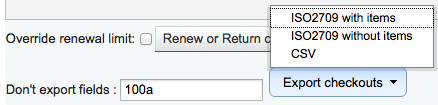
If you have set your ExportWithCsvProfile preference, you will also see the option to export the patron's current checkout information using a CSV Profile or ISO2709 (MARC21) format.
Also at the bottom of the page is the list of items the patron has on hold
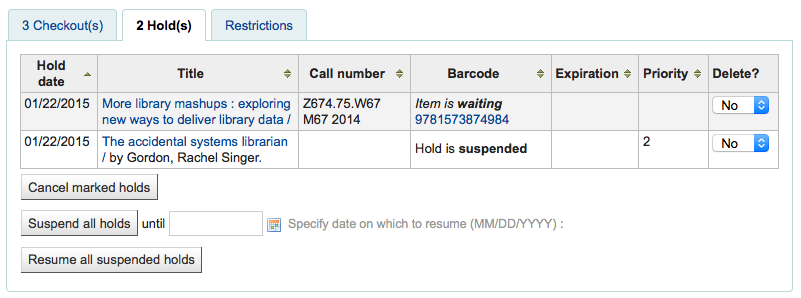
From the holds list you can suspend or resume patrons holds using the options at the bottom of the list if you have the SuspendHoldsIntranet preference set to 'allow.'
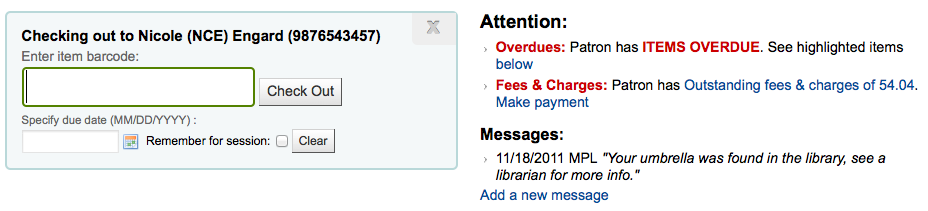
If there are notes on the patron record these will appear to the right of the checkout box
If the patron has a hold waiting at the library that too will appear to the right of the check out box making it easy for the circulation librarian to see that there is another item to give the patron
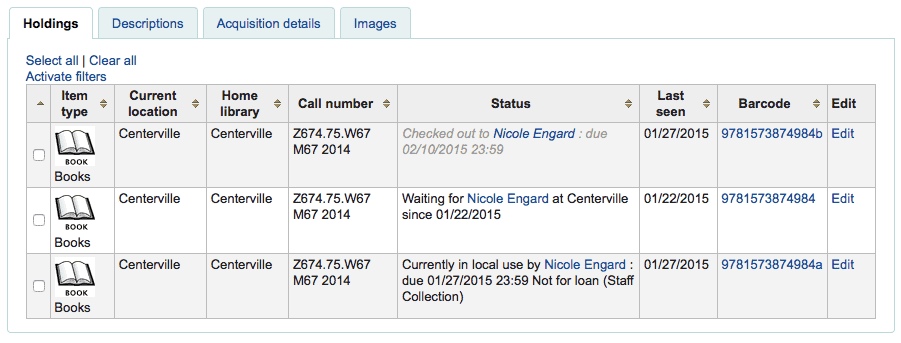
The details of the checkouts will appear on the bib detail page in the staff client as well.
1.1.1 Printing Receipts
Once you have checked out all of the items for the patron you can print them a receipt by choosing one of two methods.
If you have the CircAutoPrintQuickSlip preference set to 'open a print quick slip window' you can simply hit enter on your keyboard or scan a blank piece of paper with your barcode scanner. The idea being that you're "checking out" a blank barcode which triggers Koha to print the 'Quick slip.'
You can also click the Print button at the top of the screen and choose 'Print slip' or 'Print quick slip'.
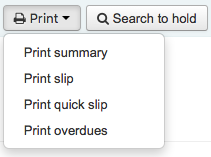
If you choose 'Print slip' it will print all of the items the patron has checked out, including those they checked out at an earlier date. Choosing 'Print quick slip' will print only the items that were checked out today.
'Print summary' will generate a full page summary for the patron's circulation information and 'Print overdues' will print out a slip that lists all items that are overdue.
What prints on the slips can be customized by altering the slip templates under the Notices & Slips tool.
1.1.2 Clear Patron Information
When you're done checking an item out if you have the DisplayClearScreenButton preference set to 'Show' you can clear the current patron by clicking the X in the top right of the patron's info to remove the current patron from the screen and start over.
If you have the CircAutoPrintQuickSlip preference set to 'clear the screen' then you simply need to hit enter or scan a blank barcode and the screen will be cleared of the current patron.